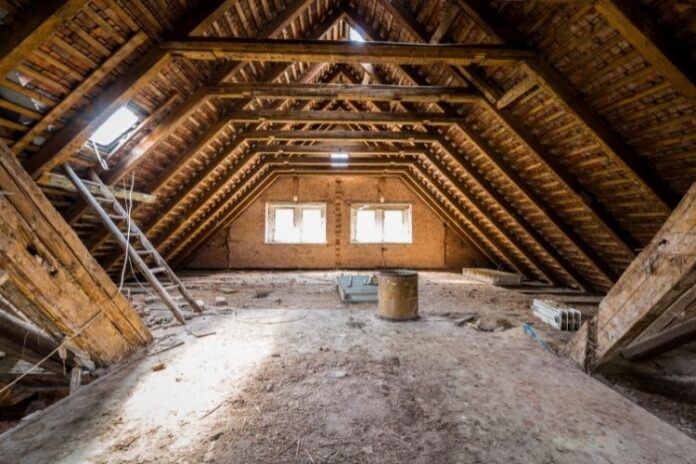
Have you ever thought about converting an attic into a room or even into a living place? Well, it will be possible in case of doing everything right. So, we have created a guide for you to have an extra bedroom or office in your home.
What to Consider Before Finishing an Attic
Make Sure Your Attic Meets Local Building Codes
Though every attic is different, some rules need to be followed. Consider the rule of 7s:
- According to the 7s rules, at least half of the attic must have 7 feet height, 7 feet width, and 70 square feet
- Have an alternative exit. It is necessary in case of emergencies. It can be an easily accessible window
Please note: If an attic has less than 7 feet in height, you can call a professional to build a dormer for a higher ceiling.
It is also worth noting that an attic weighs a lot more than the boxes out there in general. In this case, you can hire an engineer to check your house’s foundation to make sure the attic can carry the extra load. You may need to strengthen the attic’s floor joists, which are often spaced too far.
Find Out If You Need a Building Permit
Generally, a permit is needed when you add electrical wiring or ventilation, or if you plan to change the structure of your home. To find out the necessity of permission, you can ask the specialists of your local permit office. Simple and easy!
How to Finish an Attic
Clean Out Your Attic
First of all, consider cleaning the whole area of the attic and get rid of the old junk and building materials you do not need anymore. As you are going to add new insulation, remove any old insulation. Moreover, in case of loose insulation, you can use an industrial vacuum to clean it. On the other hand, if the insulation is in a good condition, you can add subflooring right over it. But if it’s old, consider replacing it.
Wire the Attic for Electricity
Once your attic meets the local building codes and you have a license for building, it is time to think about the electricity. Keep in mind that you run the risk of possible electrical fires if you do the work yourself. So, it will be better to hire a professional and licensed electrician to ensure all wiring meets requirements.
Note: There should be at least one outlet on each wall and at least one outlet every 12 feet.
Insulate Your Attic
Next, you should insulate the attic ,just follow the steps below:
- Cut each batt, to the exact length of the cavity
- Press them and staple through the paper to the studs
- Install the rolled insulation in the floor by cutting to the exact length and width, pressing into the space between joists, and attaching with wire fasteners
- In addition, if you want to insulate behind electrical wiring, consider peeling the insulation apart and creating two layers and fit the layers around the obstacle, making sure the vapor barrier is facing the room, not the external wall.
Install Drywall and Ceiling
Hanging drywall will make your attic take shape. Here you should consider hanging drywall in sheet-sized sections of 4 feet (1.2 m) by 8 feet (2.4 m) (121.92 cm by 243.84 cm) with drywall screws at 8-inch (20.32 cm) intervals. Then, you can cut smaller drywall pieces with a knife to fill in the areas remained.
In addition, choosing a dropped ceiling or installing drywall directly to the ceiling depends on the height of the ceiling. If you need to conserve space to meet building code standards, choose drywall installed directly to the ceiling.
Choose and Install Attic Flooring
Almost done! Here you only need to choose and install flooring for the living space. In terms of reducing sound and adding additional insulation to the attic, carpeting can be a good idea.
Enjoy Your Finished Attic
And finally, the long-awaited moment has come! Decorate the attic, move in furniture, and enjoy every moment in the living space you have created.


